Welcome to SwfitSheets!
This guide is meant to offer insights into how functionality in SwiftSheets works. You might have been redirected here the first time you logged in, but this page will always be here, in case you need a refresher down the road or if others need this information.
This demo video will walk you through two basic automations, showing you how to use two of our core automations.
Your Dashboard
Your dashboard contains the core set of automations that are already available to you, as well as the custom automations that have been built for you. Automations are placed in order of “complexity”, where simple automations are first and then more complex and nuanced automations show up further down. You can filter automations with the search bar. The automation card shows basic information, such as a brief description as well as the date that you last ran your automation. Clicking on this card will take you to your specific automation.
In the navigation bar, you also have a section "Your Favorite Automations", which contains the 5 most used automations that you personally have used. You can use this list to go directly to these automations as well.

Automation Example
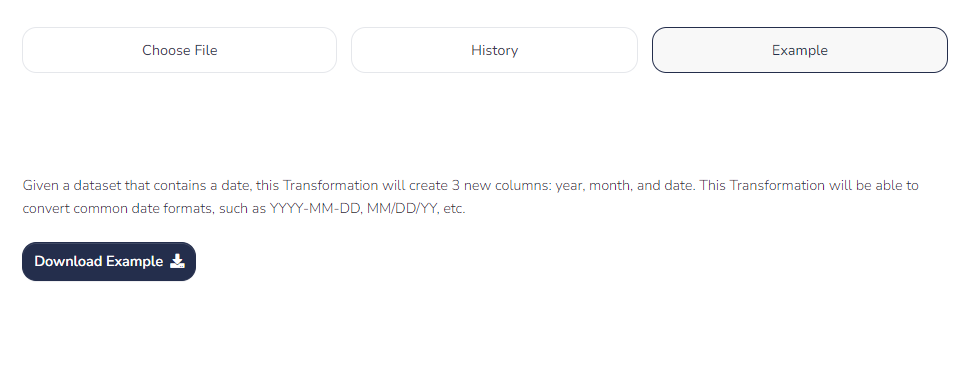
The core automations that SwiftSheets provides are built with generic use in mind. Where a custom built automation would be built after a specific discussion with you, these core automations are meant to be able to be used by anybody. With that in mind, we want you to understand how these work, and so we have offered an explanation as well as an example sheet.

Custom automation would be built with your specific and direct input and are only available to you. Therefore, only core automations are given examples.
Running an Automation
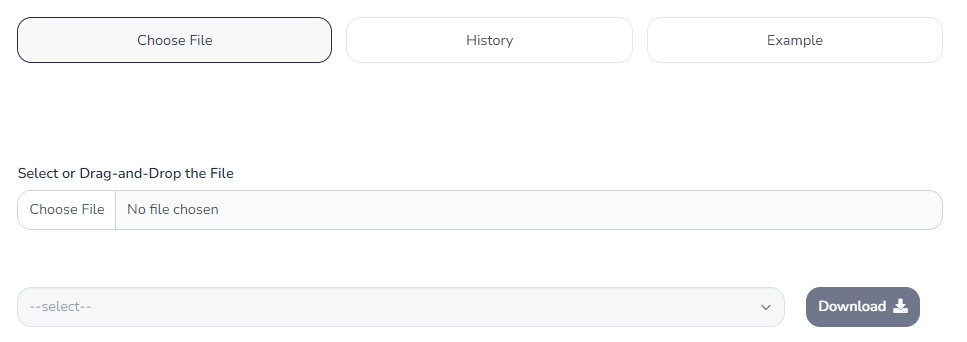
Automations are meant to be as simple to use as possible. When you select a automation, you can either drag-and-drop a file directly onto the page or you can use the file selector tool to navigate your computer's file system. The file will begin processing and update the drop down column selector tool. This selector will show what columns are available in the spreadsheet, and they are displayed in order that they are in the spreadsheet.
If the automation you are running is a core automation, we can't know what column you to Transform. By default, the first column will be selected. If that happens to be the column you are trying to Transform, then great! If not, then you can select the column you do wish to Transform.
Custom automations will be given a default column and SwiftSheets will try to match that default column name to the columns in the spreadsheet. If it is found, it will automatically set that to the selected column. Is this over-engineered? Yes. Is it convenient for you? Also yes, and that's what matters most! You can also stray away from the default column if you need to.

To save you time and to save computational power, SwiftSheets doesn't run the automation until you click download. Once you do, the automation will process and be sent back to you as a file. If your data is quite large or if the automation is computationally intensive, you might experience a slight delay while the automation is complete.
Your Automation History
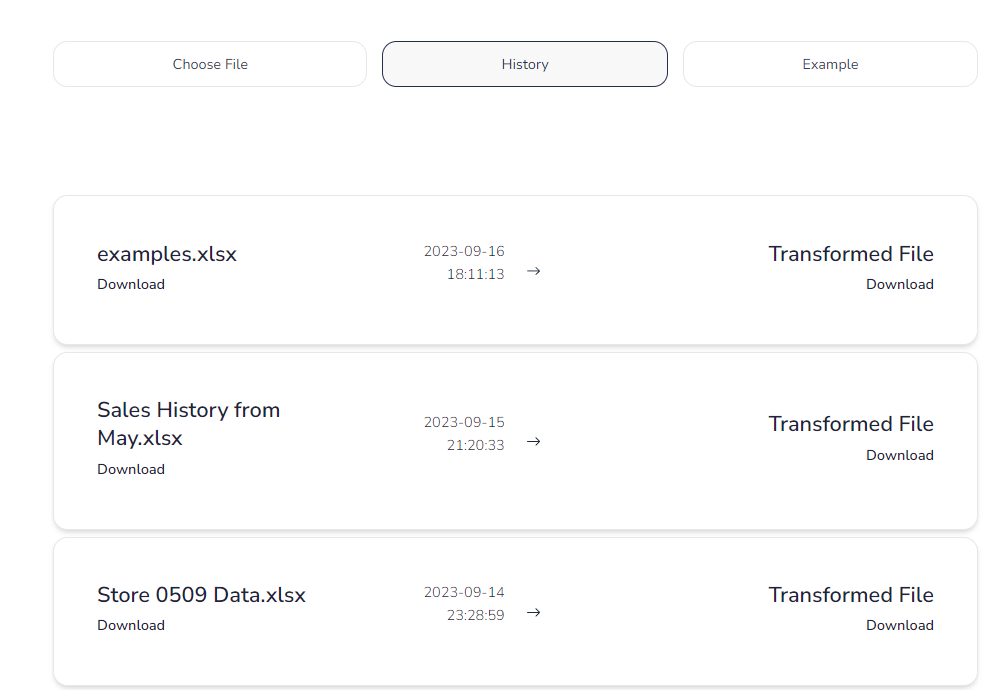
Your automations are kept, by default, for 90 days. After 90 days, these files are removed from our cloud storage. This is to keep costs low (you'd be amazed how expensive cloud storage is!) for you and for SwiftSheets. However, you can get extended storage for 1 year, depending on your needs. In the Automation history, you can find a list of your previous runs on that automation, ordered chronologically. You can see the input file, the automation date, and the output file for all available files.
Running a new automation might take a few moments to return to you, but downloading a previously run automation doesn't rerun the automation and so you will receive the file back faster than the previous time.
